


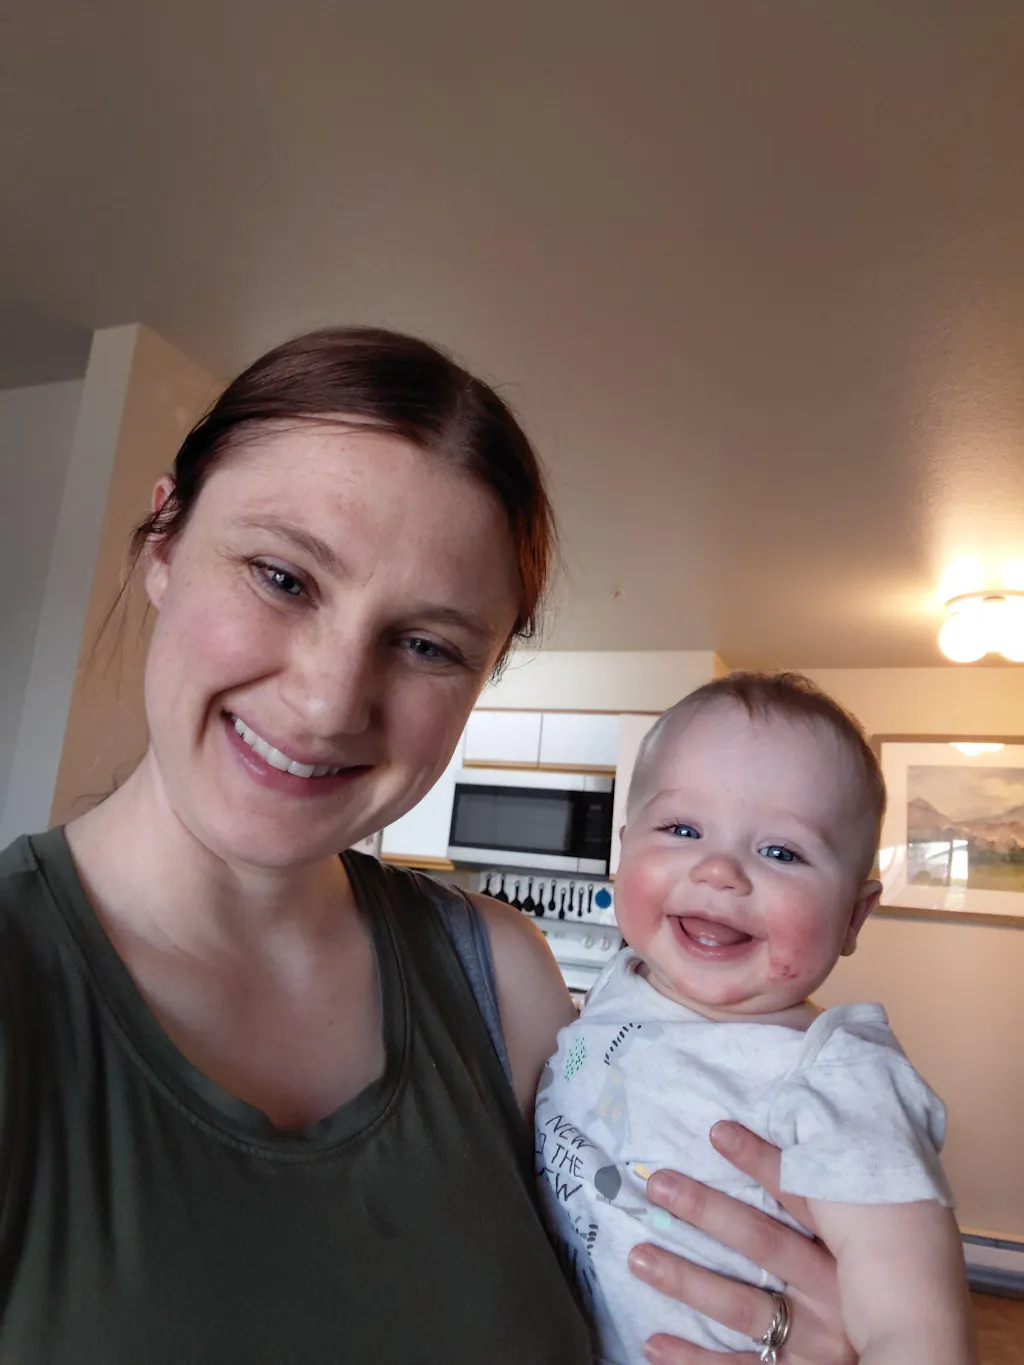
I was struggling to find a sleep sack with a 1.0 tog + natural material (no polyester) + hand covers. My poor baby has really bad eczema on his cheeks and I was googling what to do about his inability to sleep when I came across Nella Vosk. I ordered the sleep sack even though it was a bit pricey, because it was finally what I was looking for.
The first night he wore it, he slept so much better- he was warm enough in the cool room, and it was not so excruciating when he scratched out of habit, and it did not last long (because of the natural material and hand covers.) This sleep sack will last a long time because of the adjustable sizing, and it seems totally worth the cost so far.
Lastly, I emailed the founder Kelly with my problems I was experiencing while I was waiting for the sleep sack to arrive, and she gave me some really great tips that helped!
Overall this is a good company with good people and good products.
Best bamboo pyjamas ever. So soft! Wash well dry quickly. My grandson has been wearing them since he was a baby. The hand & feet covering are a great idea. He is nine this year & im sure he will be wearing them for years to come. Don’t ever stop making them please 🌺
Best bamboo pants! So soft, was well dries quickly. My granson has been wearing these & the top to bed for years. Love the feet covering!
I bought this for my wife when our daughter was about 6 weeks old. She was struggling with supply and completely exhausted, and I felt helpless. I didn't know what else to do, so I ordered this kit.
She cried when it arrived (good tears). She said it was the first thing that actually felt like someone understood what she was going through. The partner support guide inside was honestly a wake-up call for me — I didn't realise how much she needed ME to step up with meals and hydration, not just help with the baby.
We've been using the meal plan together, I make sure she drinks the hydration powder every morning, and I keep the cookies stocked. Her supply has improved, but more than that, she just seems... lighter. Less stressed.
If your partner is struggling with breastfeeding, don't just tell her to "drink more water" (I learned that the hard way). Get her this kit. And then actually USE the partner guide. You'll both be better for it.
10/10 would recommend to any new dad or partner.
I bought this kit two weeks before returning to work because I was terrified my supply would tank. Best decision I made. The system walks you through exactly how to prepare, what to pack for pumping at work, and how to keep your supply up even when you're stressed and away from bub.
I've been back at work for 3 weeks now and I'm still producing enough to exclusively breastfeed. The tea has been my secret weapon — I drink it at my desk between pump sessions and it keeps me calm. The cookies are easy to throw in my work bag for a quick snack.
The guide also has a whole section on communicating with your workplace about pumping breaks, which I used almost word-for-word when talking to my manager. Game changer.
If you're going back to work and want to keep breastfeeding, get this kit. You won't regret it.